The Olympus STM7 series uses the same UIS2 infinity-corrected optical system used in state-of-the-art optical microscopes. As a result, observed images have high resolution and high contrast, with aberration thoroughly eliminated to help ensure highly accurate measurement in minute detail.
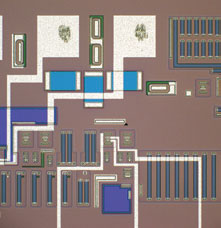 Brightfield image
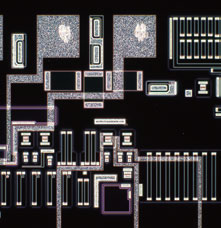 Darkfield image
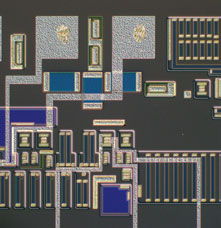 DIC image
 POL image
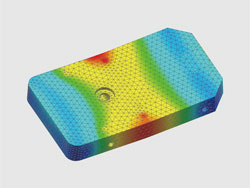 STM7-LF FEM analysis
To provide further assurance of measurement accuracy, the STM7 series uses a highly durable, vibration-resistant frame with a granite surface plate. As a result of this stability, measurements can be taken at sub-micron-levels while ensuring minimal error.
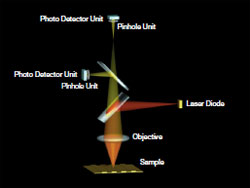 Reflective Active, Confocal Autofocus System Optical Path
As modern manufacturing technology becomes increasingly miniaturized and precise, highly accurate measurements are even more essential—not only along the horizontal XY axes, but also along the Z-axis. Olympus has responded to such needs by being the fi rst to realize an autofocus system for measuring microscopes by means of the reflective active, confocal method.
The accuracy of Olympus’ measuring microscopes is controlled by a strict traceability system and Olympus even offers traceable calibration at the time of installation.
Measuring Microscopes Traceability System
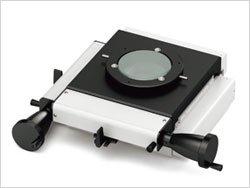 STM7-CS50
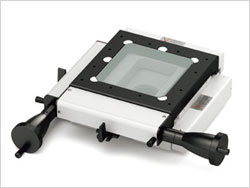 STM7-CS100
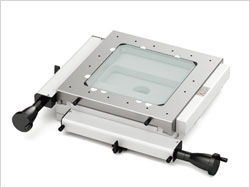 STM7-CS200
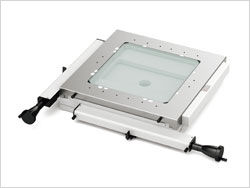 STM7-CS300
Measuring Objectives
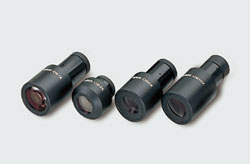
Because the measuring objectives have an extremely long working distance, they provide confidence when focusing on samples with large peaks and troughs while reducing worries of the objective coming into contact with the sample.
Furthermore, their low-magnifi cation capability enables wide areas to be observed in a single view.
Metallurgical Objectives
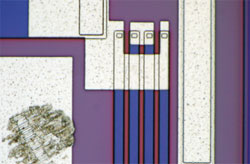
Brightfield image
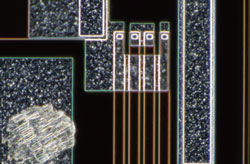
Darkfield image
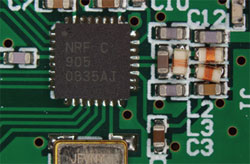
Metallurgical objectives enable high-magnifi cation, highresolution observation capability comparable to that of optical microscopes. What’s more, these objectives can be used not only for brightfield, but also for darkfield and DIC observation.
> Click here for details about UIS2 objective lenses
Focus control is available with either manual or motorized operation. Choose the model that addresses your needs in terms of samples and measurement content, regardless of stage size—with all frames incorporating a linear scale for the Z-axis that enables 3-axis measurement.
Manual Z-axis Focus Models
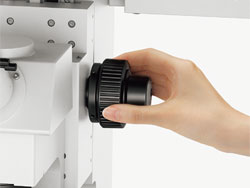
Manual Z-axis focus models offer excellent cost performance—with familiar handle operation for rapid vertical movement that offers convenience for users who needs to measure samples with variety of heights.
Motorized Z-axis Focus Models
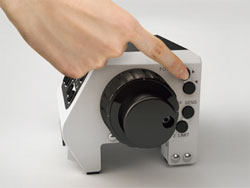
Operability is improved and handling fatigue is reduced for focus and height measurements when using the motorized focus unit. The coaxial knobs for coarse and fine movement offer a feeling similar to manual operation, while the models can also be equipped with an autofocus unit.
Controllers
With the STM7 series, a single controller makes it possible to perform virtually all measuring microscope operations, including use of readout reset, illumination control, focusing, and autofocus. For effi ciency and convenience, the unit can be placed wherever you wish and operated easily with one hand.
Control Box
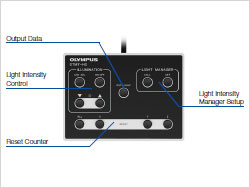 For Manual Z-axis Focusing Models:
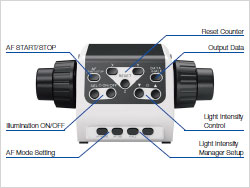 For Motorized Z-axis Focusing Models:
The power supply and transmission for each unit are combined in a single control box. This preserves maximal workspace even when a range of optional functions, such as the focus navigator, are added.
Close Control through a Quantitative Digital Display of Light Intensity Values
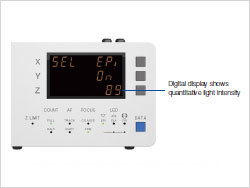 The STM7 series provides a quantitative digital display of light intensity—enabling observations to always be made under consistent illumination conditions.
Light Intensity Manager Eliminates the Need for Manual Adjustment
Light intensity manager can be used with the coded revolving nosepiece configuration. The coded revolving nosepiece automatically detects the switching of objectives. This allows the illumination method and light intensity to be registered for each objective, and adjusted automatically during measurements when the objective is switched. Now there is no need to manually adjust light intensity, which used to be required with every switch between magnifications.
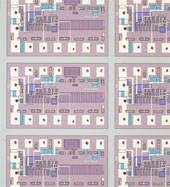 5xIntensity 50 5xIntensity 50 | 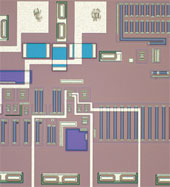 20xIntensity 70 20xIntensity 70 | 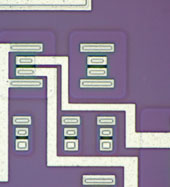 100xIntensity 120 100xIntensity 120 |
Digital Indicator Enables the Current Operation Status to be Verified Visually
The indicator displays the device status and settings. The minimum X, Y, and Z-axis values can be switched between 0.1 μm and 1 μm, and the display units can be switched between mm, μm, inches and mil.
Detachable Digital Readout Allows for Individual Preference and Placement
Whether attached to the frame or a desk, the placement of the detachable digital readout is up to the individual user. While standing to take measurements, it can be placed on the side of the frame at almost the same height as the site of observation for an exceptional and easy view. When operating from a sitting position, such as observation or measurements on a monitor via a digital camera or when using the motorized Z-axis focusing model, simply place the digital readout and hand controller on the desk.
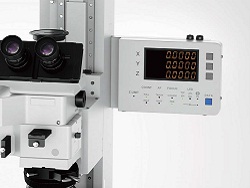 Digital readout attached to the frame
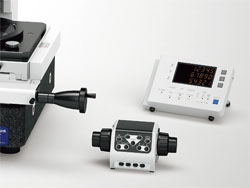 Digital readout placed on a desk
Simple and Highly-Precise Focusing System with Superior Repeatability
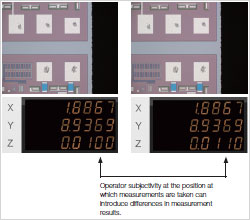
The Olympus’ focus navigator delivers highly reproducible height measurement by projecting a pattern within the fi eld of view and identifying vertical deviations. Slight errors can occur in height measurements taken with normal visual observation, even when focus appears to be sharp. The focus navigator, however, enables measurements to be made simply by matching up the marks—thereby reducing operator subjectivity in measurement results.
 Below Focus
 In Focus
 Above Focus
Dedicated Autofocus Unit: Outstanding Reproducibility and Focusing Speed
The STM7 dedicated autofocus unit allows highly accurate height measurements to be made with minimal time, regardless of the level of operator experience. Use of the refl ective active, confocal method provides a stable focal point independent of surface roughness or a slanting sample surface, while the small laser diameter enables the use of autofocus, even on minute objects, such as bonding wires.
One-shot Mode
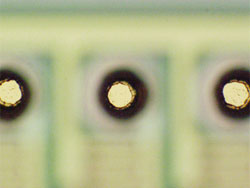
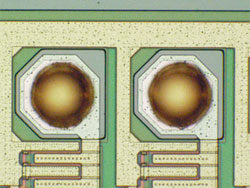
Instantaneously takes autofocus from a roughly focused state to sharp focus located at the center of the fi eld of view.
TRACK Mode
The featured TRACK Mode provides autofocus that tracks the peaks and troughs of the sample, even if the stage is moved, keeping the image continually in focus. This advancement greatly improves the effi ciency of Z-axis measurements by enabling observations to be made without taking your hands off the X and Y handles.
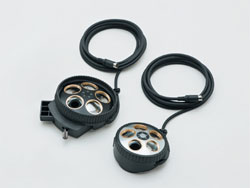
Combining a coded revolving nosepiece with a digital camera lets you display the objective magnification on-screen during observation and allows you to record that magnification.
This convenient feature allows information on your sample and the objective’s magnification to be recorded at the same time when recording a sample.
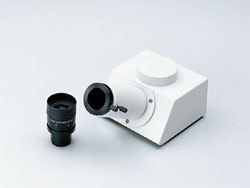
Monocular tube for erect images. Can be used in combination with MM6-OCC10x (eyepiece with cross hairs).
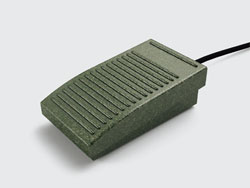
Enables hands-free transmission of data, allowing operators to complete measurement without taking hands off the X and Y handles.
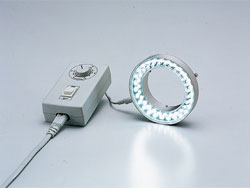
This light-weight, space-saving design model provides a long operating life and low power consumption. The cost-effective LED illumination unit is also free from the flickering and brightness fluctuation.
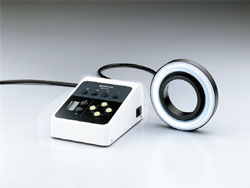
SZX-RHS manual control unit enables independent illumination of four-segments of the SZX2-ILR66 reflected LED ring illuminator, which provides clear images with high color temperature. The optimal illumination can be selected from 13 patterns.
Enables easy parallel alignment of sample.
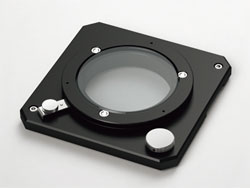 STM7-RS100
| Small frame | Middle frame | Large frame | |||
| Optical System | UIS2 Optical System (Infinity-corrected) | ||||
| Microscope Frame | Observation Method | BF/DF/DIC/KPO*1 | |||
| Reflected/Transmitted | Reflected/Transmitted | ||||
| Illumination System | White: for Reflected Illumination, Green: for Transmitted Illumination with Max. Power Consumption: 10 W | ||||
| Focus | Motorized/Manual | Manual [Manual Type] | |||
| Motorized [Motorized Type] | |||||
| Stroke | 175 mm | 145 mm*2 | |||
| FOCUS button: Coarse movement speed | 8 mm/sec [Motorized Type] | ||||
| Fine Focasing Speed (Variable) | 800 µm/400 µm/200 µm/50 µm (Full Rotation of Knob) 4 Steps [Motorized Type] | ||||
| Maximum measurable height | 175 mm*3, 120 mm*4 | 145 mm*3, 90 mm*4 | |||
| Objectives | Measuring Objectives/Metallurgical Objectives | ||||
| Observation tube | Erect image monocular tube, erect image trinocular tube (100:0/0:100) | ||||
| Stage | Stroke | 50(X)x50(Y)mm | 200(X)x200(Y)mm | 300(X)x300(Y)mm | |
| 100(X)x100(Y)mm | |||||
| Measuring Accuracy | 50 mm Stroke:(3+L/50)µm | (3+4L/200)µm | (3+6L/300)µm | ||
| 100 mm Stroke:(3+2L/100)µm | |||||
| Counter Display | Number of axes | Three | |||
| Unit | mm/μm/inch/mil | ||||
| Minimum resolution | 0.1μm | ||||
| Dimensions | [Manual Type] | 466(W)x583(D)x651(H)mm | 606(W)x762(D)x651(H)mm | 804(W)x1024(D)x686(H)mm | |
| [Motorized Type] | 466(W)x583(D)x811(H)mm | 606(W)x762(D)x811(H)mm | 804(W)x1024(D)x844(H)mm | ||
| Weight | [Manual Type] | 84kg(Approx.) | 152kg(Approx.) | 277kg(Approx.) | |
| [Motorized Type] | 92kg(Approx.) | 159kg(Approx.) | 284kg(Approx.) | ||
| Remark | *1: Simple Polarized Light Observation *2: When using the large frame STM7-LF/STM7-LFA, a specimen whose height is 100 mm or less can be placed at the position backward from the light axis by 180 mm or more. *3: With Objective Lenses for Metallurgical Microscope *4: With Objective Lenses for Measuring Microscope | ||||